10 Things to Know About Derma Rolling
Introduction to Derma Rolling Fundamentals
Derma rolling involves rolling a small device covered in tiny needles across the skin to create microscopic punctures in the epidermis. This controlled skin stimulation triggers the natural production of collagen as the body works to heal the tiny surface pathways, which is why people research the topic to improve texture and appearance.
Approaching this cosmetic technique requires a cautious mindset and strict hygiene habits to avoid unwanted skin reactions or infections. You will learn the essential safety measures, sanitation steps, and practical usage tips needed to protect your skin during the process.
What is Derma Rolling and How Does It Work
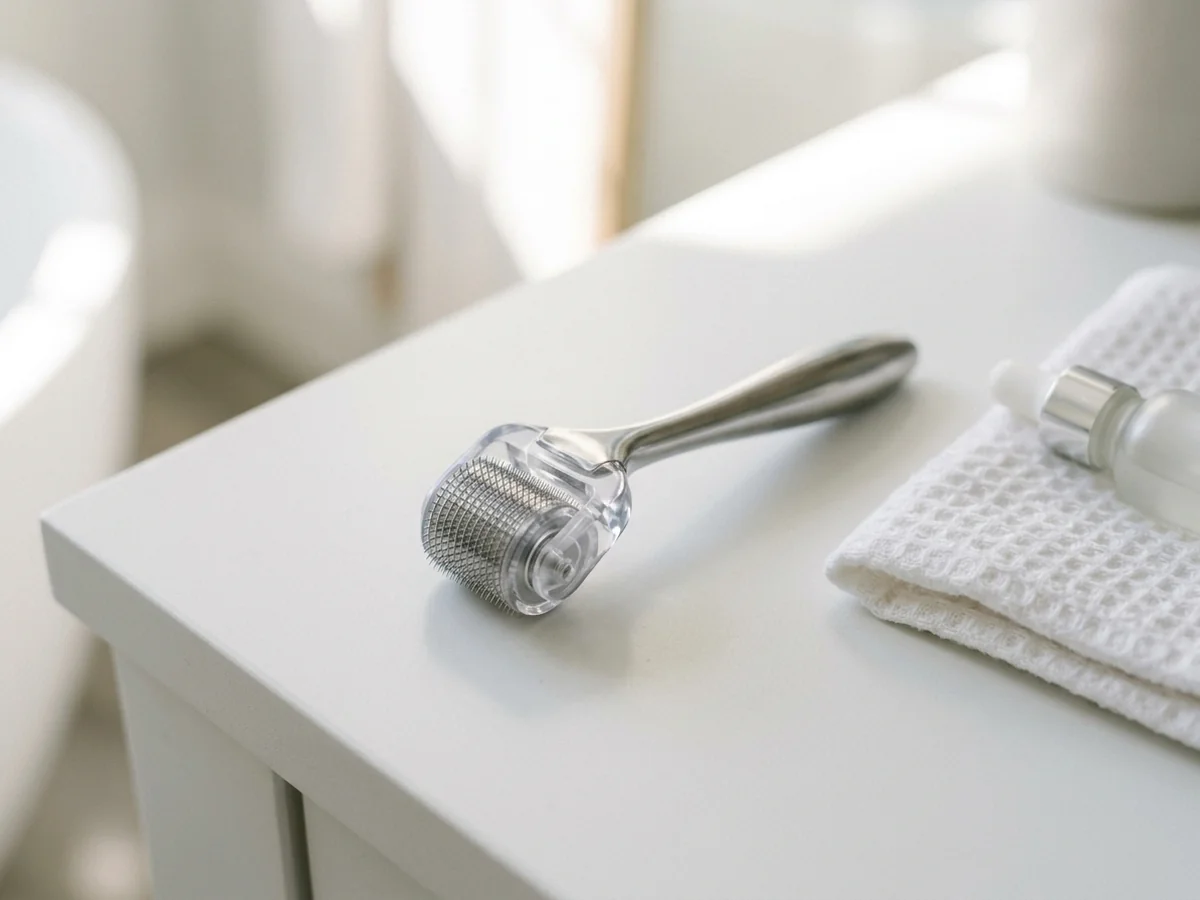
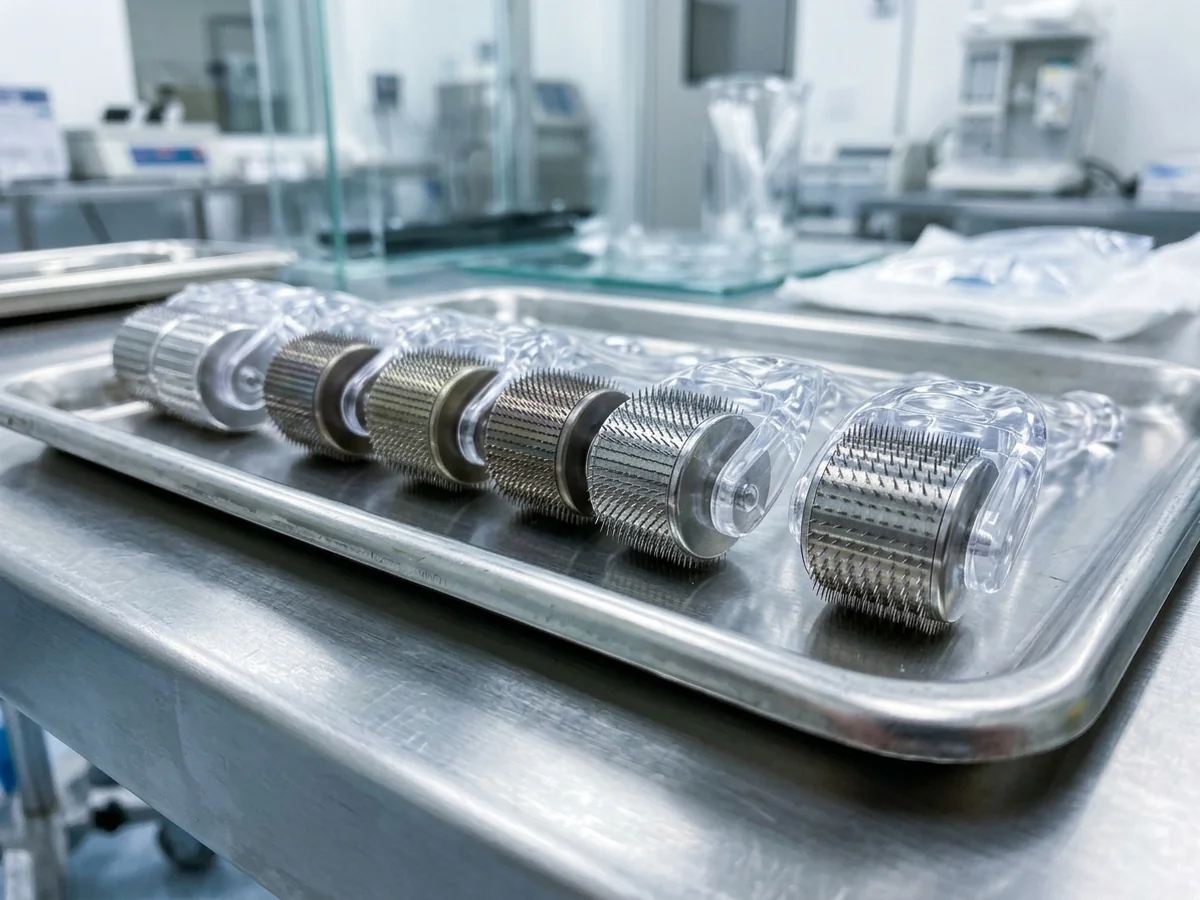
This cosmetic technique involves passing a small handheld tool covered in tiny needles across the skin surface. This manual tool creates shallow punctures in the outermost layer of tissue to trigger the body’s natural renewal cycles. The practice relies on physical contact between a cylindrical drum and the epidermis. As the device moves, tiny metal points press lightly into the tissue before lifting back up. Users typically guide the rolling device in multiple directions across a target treatment area to ensure even coverage.
When these metal points pierce the surface, the body perceives temporary, controlled micro injuries. This reaction prompts skin tissue to initiate a natural healing response. Cellular activity increases around the puncture sites, leading to fresh collagen production as the area repairs itself over the following days. Stainless steel rolling devices interact with the epidermis in a specific way due to their rigid construction. Because metal needles do not flex, technique matters significantly during use. Holding the device at an incorrect angle or applying too much pressure can cause the metal edges to drag across the delicate outer layer instead of puncturing cleanly.
Understanding the mechanics behind at home microneedling helps clarify why proper preparation and hygiene are essential. Many individuals incorporate derma rolling into a regular routine to improve the overall texture of the epidermis or to stimulate dormant hair follicles during treatments for thinning hair. However, because the process involves breaking the barrier of the skin, precision is vital. Applying uneven pressure or reusing a tool with blunt metal points can damage the tissue rather than encouraging healthy cellular renewal.
Practical execution requires patience and strict attention to cleanliness. Users must thoroughly sanitize their equipment using isopropyl alcohol before and after every session to prevent introducing unwanted bacteria into the microscopic punctures. Rushing the process or skipping sanitation steps introduces significant risks of irritation and infection. By taking the time to learn the correct physical motion and maintaining a sterile environment, individuals can safely navigate the mechanics of skin needling without compromising their overall health and safety.
At-Home Derma Rolling vs Professional Microneedling
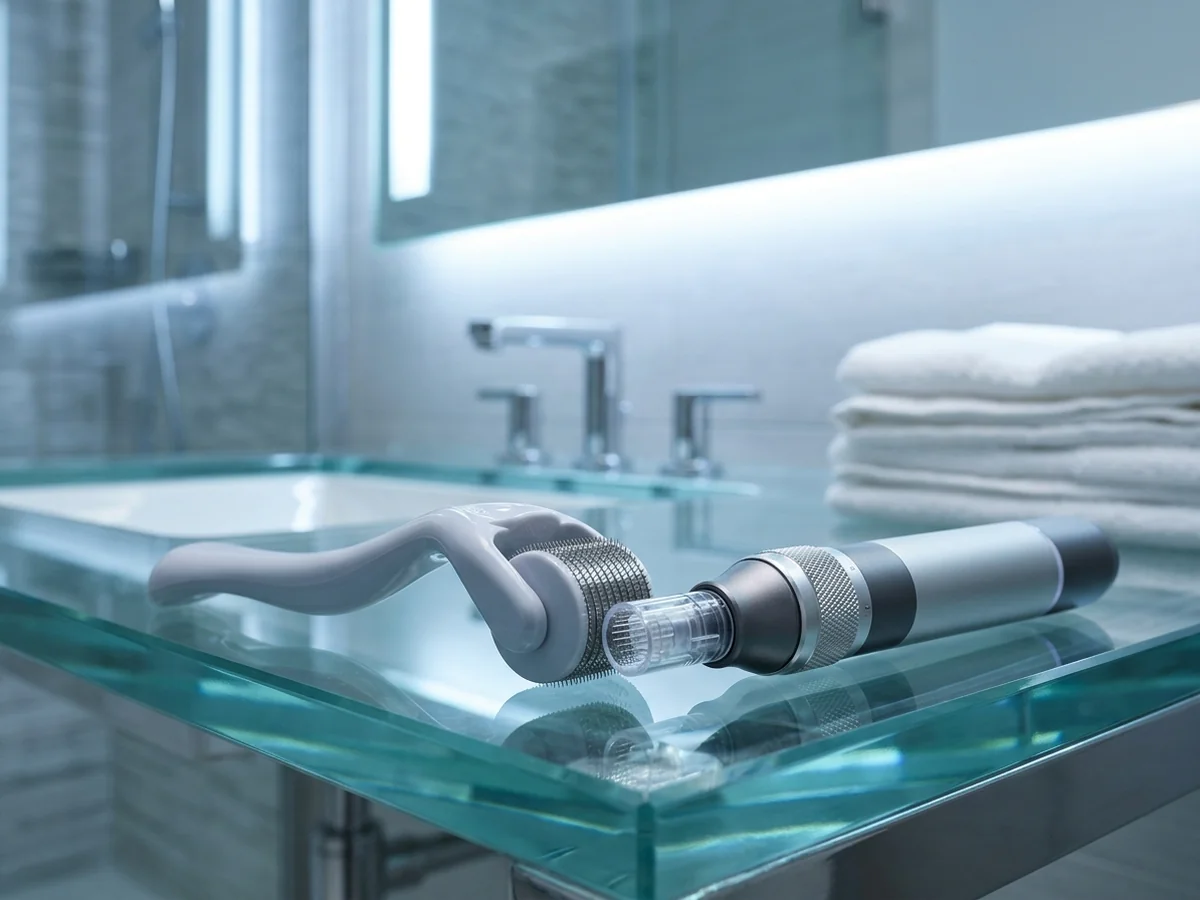
Professional microneedling and at-home cosmetic routines differ significantly in equipment capability, depth control, and overall safety management. Understanding these differences helps individuals make informed choices regarding skin health, collagen stimulation, and the practical limits of personal skincare tools.
In a clinical setting, a dermatologist uses advanced medical equipment or motorized devices capable of reaching precise depths within the skin layers. These professional procedures require strict sterile environments and specialized medical training to manage skin thickness safely and avoid complications such as infection or scarring. A trained specialist adjusts treatment parameters based on specific goals, whether addressing skin texture or exploring options for hair growth and hair loss concerns near hair follicles.
By contrast, how to use derma roller at home typically involves manual handheld devices with much shorter needles. These personal tools are designed strictly for surface layers of the epidermis. Because they lack the advanced safety mechanisms and power of clinical machines, users must exercise extreme caution. Common mistakes include applying too much pressure, rushing the routine, or failing to maintain proper hygiene.
Safety control remains a major dividing line between the two approaches. Personal handheld tools carry higher risks of bending stainless steel needles, tearing delicate skin, or spreading bacteria if sanitization steps using isopropyl alcohol are skipped or rushed. While clinical treatments safely trigger collagen production under controlled medical supervision, home routines require gentle pressure, strict cleaning habits, and conservative limits on frequency to protect the skin barrier from lasting damage and avoid the negatives of derma rolling.
Potential Skin Benefits and Visual Changes

Skin texture and appearance improve gradually over time through consistent sessions and proper healing. You will not see dramatic changes overnight. Instead, subtle improvements build up across multiple weeks as the epidermis adjusts to the treatment.
Collagen production plays a major role in smoothing surface irregularities like fine lines and shallow scars. When tiny needles puncture the outer layer, the body triggers a natural healing response. This process ramps up collagen synthesis, which helps plump the skin and evens out rough patches.
Examining a derma roller before and after comparison helps set realistic expectations for what home care can achieve. Promotional images often highlight best case scenarios after professional care rather than casual at home use. Minor smoothing is common, but deep scars rarely vanish completely without clinical intervention.
Gradual changes require patience because skin cell turnover takes roughly a month to complete. Proper aftercare and gentle handling protect the delicate barrier during this rebuilding phase. Expect subtle refinement rather than a complete transformation.
Understanding the why behind these visual changes helps prevent common mistakes, such as applying excessive pressure in hopes of speeding up results. Pressing too hard does not improve outcomes and can easily damage the delicate outer layer of the skin. Users should maintain a light, even touch across all treated areas.
Practical steps for tracking progress involve taking well lit photos in consistent lighting every few weeks. Because adjustments happen slowly, visual logs help prevent discouragement and highlight subtle texture shifts that daily mirror checks might miss. Pairing this routine with gentle cleansing and adequate hydration supports the natural renewal process without overwhelming the skin barrier.
Exploring Derma Rolling for Hair Growth and Thinning
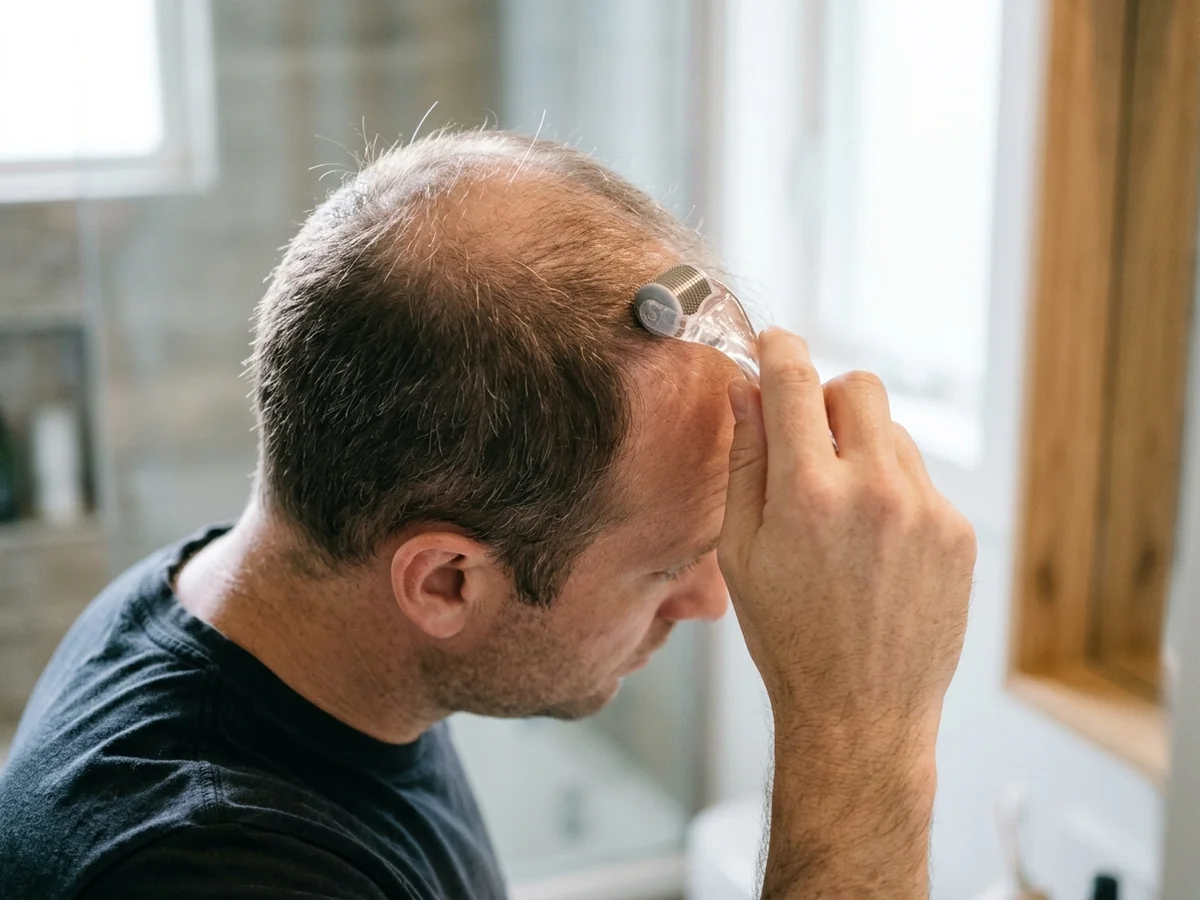
The practice targets thinning areas by creating microscopic punctures in the epidermis, which stimulates local blood flow and encourages the production of collagen around the scalp. Practitioners look to derma rolling for hair growth because these controlled injuries activate healing pathways that may signal dormant hair follicles to enter an active growth phase. While many users explore these tools for personal cosmetic routines, understanding the mechanics helps set realistic expectations.
Cellular signaling pathways respond to minor trauma by releasing growth factors that support tissue repair and improve nutrient delivery to the roots. Using a microneedling device for hair loss is thought to enhance the absorption of topical treatments applied directly to the scalp afterwards. Improved local circulation helps nourish the roots of existing strands, potentially strengthening weak fibers over time.
Safety and Hygiene Protocols
Scalp safety requires strict hygiene protocols to prevent bacterial infections and irritation during every session. Users must follow safe handling practices before and after each treatment.
- Clean the device thoroughly before and after every use using high concentration isopropyl alcohol.
- Avoid sharing personal tools with others to prevent cross contamination.
- Inspect the needles carefully for any bending or dullness that could tear the skin.
- Store the cleaned tool in a protective case to keep airborne debris away from the needles.
Understanding Risks and Limitations
Before beginning an at home routine, it helps to weigh the potential advantages against the negatives of the technique. Improper technique, excessive pressure, or using a device with dull stainless steel needles can lead to skin irritation or injury rather than improvement. Consulting a dermatologist before starting any scalp microneedling routine ensures the procedure is appropriate for your specific hair thinning concerns. Professional guidance helps prevent complications caused by underlying skin conditions or incorrect handling.
Needle Specifications, Gauge, and Replacement Timelines
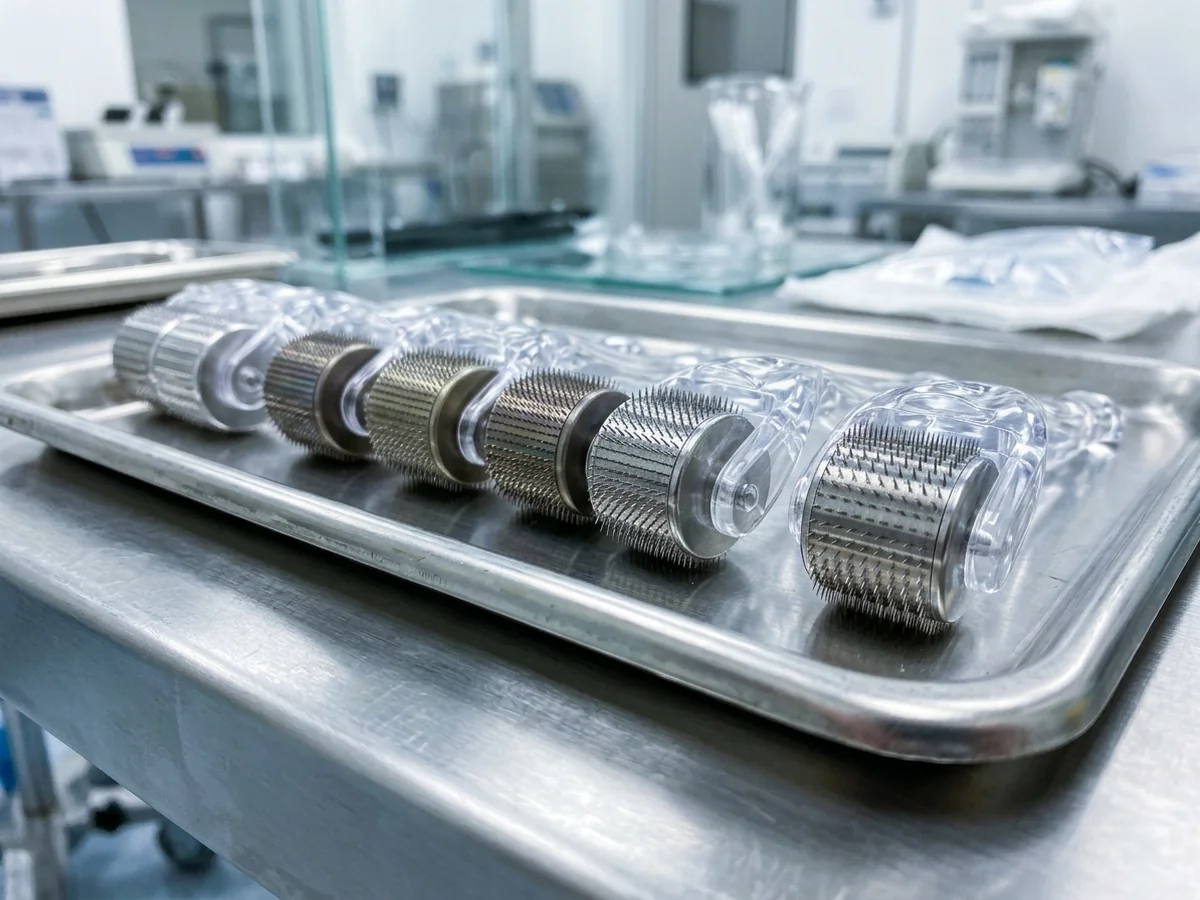
Understanding equipment specifications is essential for anyone exploring derma rolling at home. The market features devices constructed from either stainless steel or titanium. Stainless steel components offer a sharper initial edge for piercing the epidermis, while titanium options tend to resist bending and hold their structural integrity better over extended periods. Beyond material choice, needle gauge determines the thickness of each individual point. Thinner gauges create finer punctures, which helps minimize unnecessary trauma to the skin during cosmetic sessions.
Material Differences and Gauge Selection
Choosing the right construction material impacts both performance and longevity. When evaluating tools for microneedling routines, users often compare stainless steel and titanium variants. Stainless steel delivers a very sharp point initially, making initial entry smooth. However, titanium is known for greater durability against accidental drops. Regardless of the metal chosen, the gauge size dictates how the tool interacts with the skin surface. Thicker needles create wider channels, whereas finer gauges reduce resistance and support a more comfortable experience when learning how to use a derma roller at home.
Sanitization and Maintenance Protocols
Proper hygiene prevents the negatives of derma rolling, such as bacterial transfer and subsequent skin irritation. Before and after every session, the device requires thorough cleaning. Submerging the roller head in isopropyl alcohol helps eliminate microbes effectively. After sanitizing, air drying the device on a clean surface prevents airborne particles from adhering to the damp metal. Storing the tool in a dedicated protective case ensures the delicate micro needles remain straight and free from household dust and contaminants.
Recognizing When to Replace Worn Devices
Discarding rolling devices on a strict replacement timeline protects overall skin and scalp health, especially for individuals addressing hair thinning or general texture improvement. Regular usage dulls the metal rapidly. Devices require replacement after a specific number of sessions because continued use of compromised needles diminishes treatment efficacy and raises safety concerns. Blunt tips bend instead of piercing cleanly, which can tear delicate tissue, stimulate unnecessary inflammation, and compromise the collagen production goals associated with the procedure.
Step by Step Guide on How to Use a Derma Roller at Home
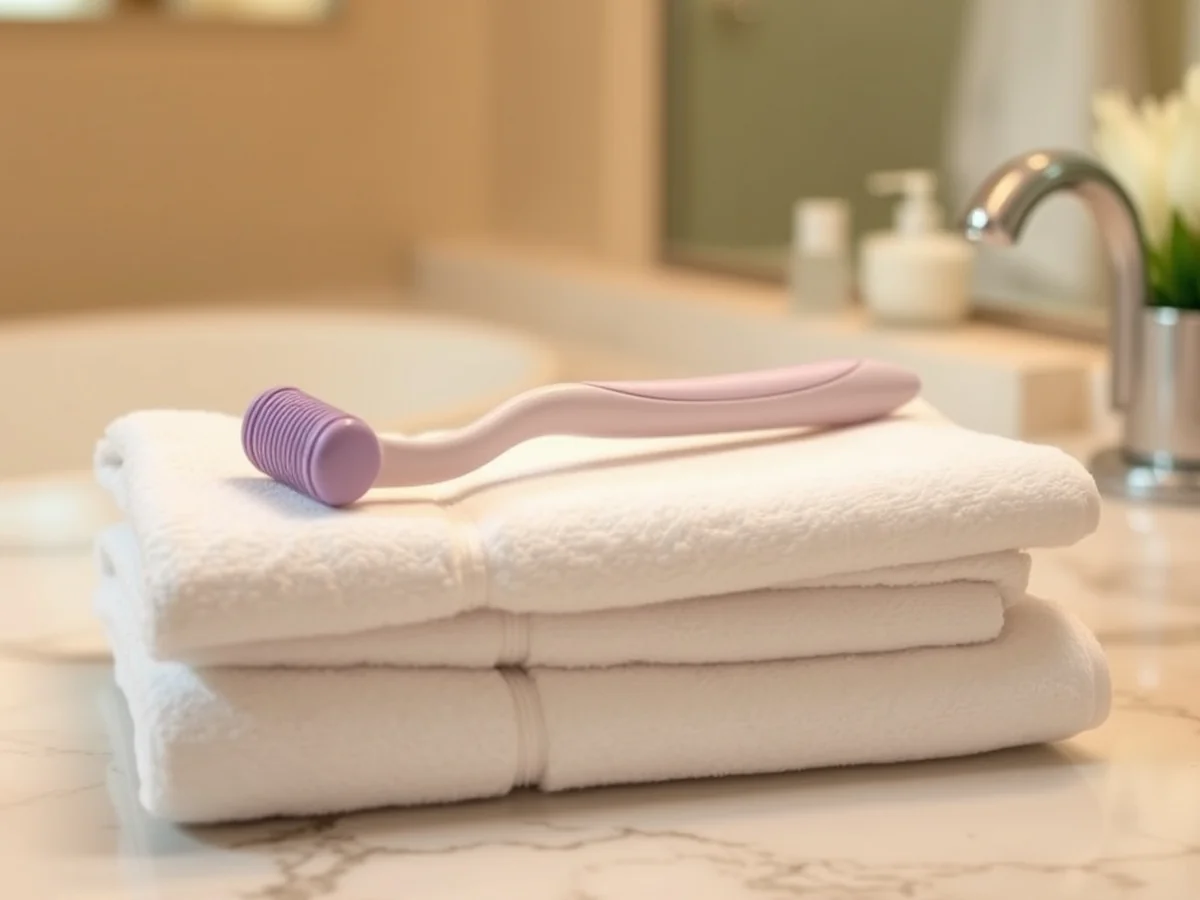
Executing a safe cosmetic session at home requires strict hygiene, careful timing, and proper preparation of the epidermis. Keeping application times short prevents irritation, while thorough cleaning protects against bacterial exposure. Whether you are exploring how to use a derma roller at home for facial texture or targeting areas to stimulate hair follicles, following a methodical process helps minimize risks. Understanding the why behind each step ensures you protect your skin barrier and support natural collagen production without causing unnecessary damage. Many people run into trouble by skipping preparation steps or applying too much pressure, which can lead to inflammation or negative outcomes.
Preparation and Hygiene Protocols
Proper sanitation forms the foundation of any at-home microneedling routine. Before beginning, wash your hands thoroughly and clean the target area to remove makeup, excess oil, and environmental impurities from the epidermis. Next, submerge or spray the rolling device using isopropyl alcohol to eliminate harmful microorganisms. Stainless steel or titanium needles require careful handling to avoid contamination. Neglecting this crucial hygiene step introduces bacteria directly into micro channels, increasing the risk of infection and adverse skin reactions.
Execution and Technique
When applying the device, keep the duration brief to avoid over-treating the delicate tissue. Gently move the tool across the target area in vertical, horizontal, and diagonal directions. Do not press down hard into the skin. Letting the natural weight of the tool do the work prevents scratching and tearing. If you are targeting the scalp to encourage new hair growth, part the hair cleanly to ensure the needles contact the skin directly without tangling in surrounding strands. Consistent, light passes yield much safer results than aggressive pressure.
Post-Care and Maintenance
After finishing the session, apply a gentle, hydrating serum or moisturizer to support recovery and maintain proper skin hydration. Avoid active ingredients that might sting or cause severe irritation on freshly treated skin. Clean the tool again with isopropyl alcohol to remove any residual debris from the needles. Store the protective cap securely on the device only after it has fully air-dried in a clean environment. Regularly inspect the needles for bending or dullness, and replace the tool when it shows signs of wear to protect your skin during future sessions.
A common mistake during derma rolling is applying heavy downward pressure, thinking it yields better results, when in reality it only increases the risk of scratching the skin. Another frequent error is neglecting proper sanitization routines. Taking your time with each step safeguards your skin and helps you achieve a smooth, consistent routine.
Precise Sanitization and Storage Protocols
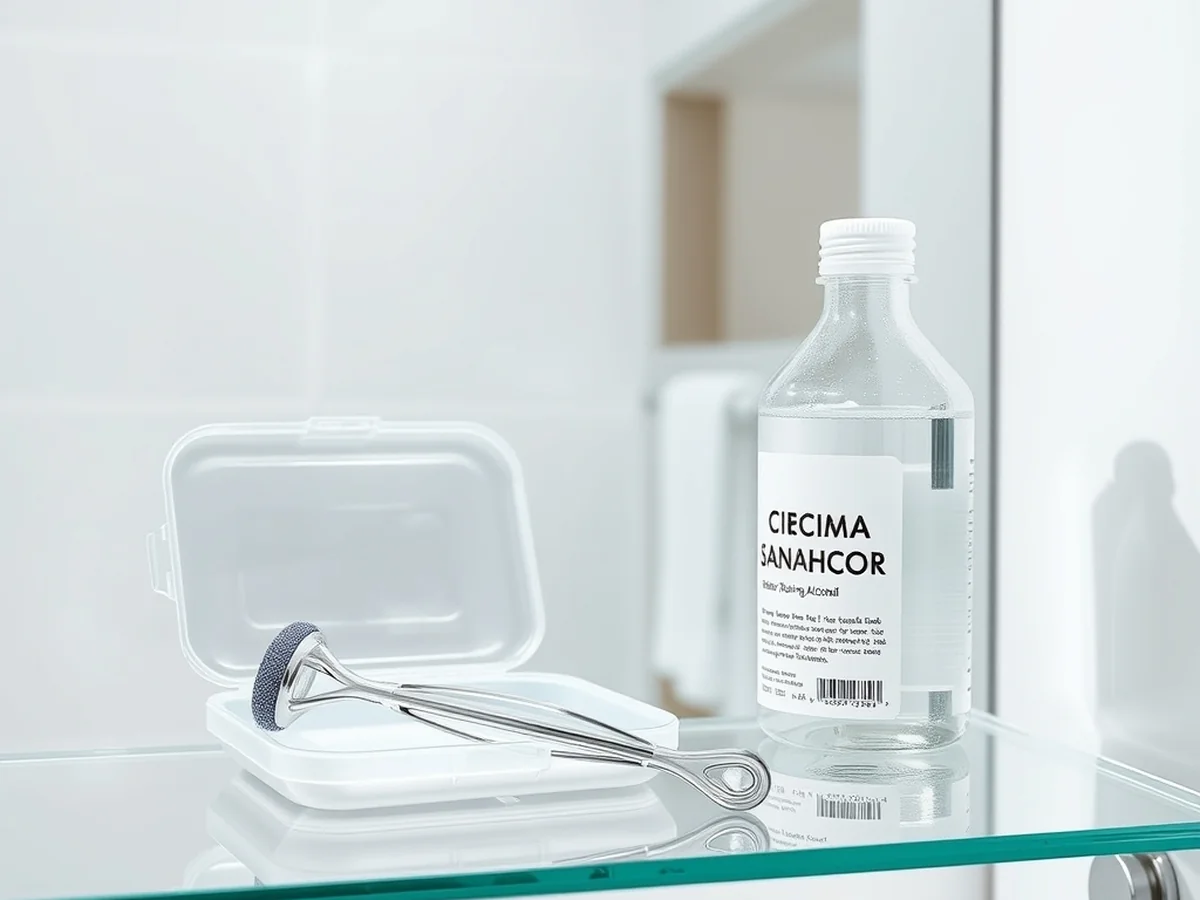
Maintaining a strict cleaning routine protects the epidermis from harmful bacteria during every derma rolling session. Because the cosmetic procedure creates tiny punctures in the skin, keeping equipment thoroughly sanitary stops microbes from entering and causing infections. Proper upkeep is just as important as the treatment itself for anyone exploring how to use derma roller at home routines safely, ensuring that the practice remains beneficial rather than harmful.
Cleaning and Disinfection Steps
Before and after each use, submerge the device in an appropriate isopropyl alcohol solution to eliminate surface pathogens effectively. Letting the tool air dry completely on a clean, disinfected surface prevents airborne dust and household debris from settling on the damp micro needles. Never wipe the needles with a towel or cloth, as stray fibers can cling to the metal and compromise sterility, which can introduce irritants to the face or scalp during treatments targeting hair follicles.
Safe Storage Requirements
Safe storage is another critical step in preventing contamination between treatments. Store the tool inside a dedicated protective case rather than leaving it exposed on a bathroom counter, where moisture and airborne particles are common. Placing an unprotected device directly into a cosmetic bag or drawer exposes the delicate stainless steel or titanium needles to bacteria, dust, and dulling impacts that ruin the tool.
Understanding the why behind these maintenance steps helps maintain long term skin health and supports collagen production safely. Clean metal components last longer and perform better when they are kept dry and enclosed between applications. By following careful sanitization practices every single time, users minimize potential skin risks, avoid worsening conditions that a dermatologist would advise against treating at home, and protect their overall investment in self care.
Negatives, Risks, and Contraindications of Derma Rolling
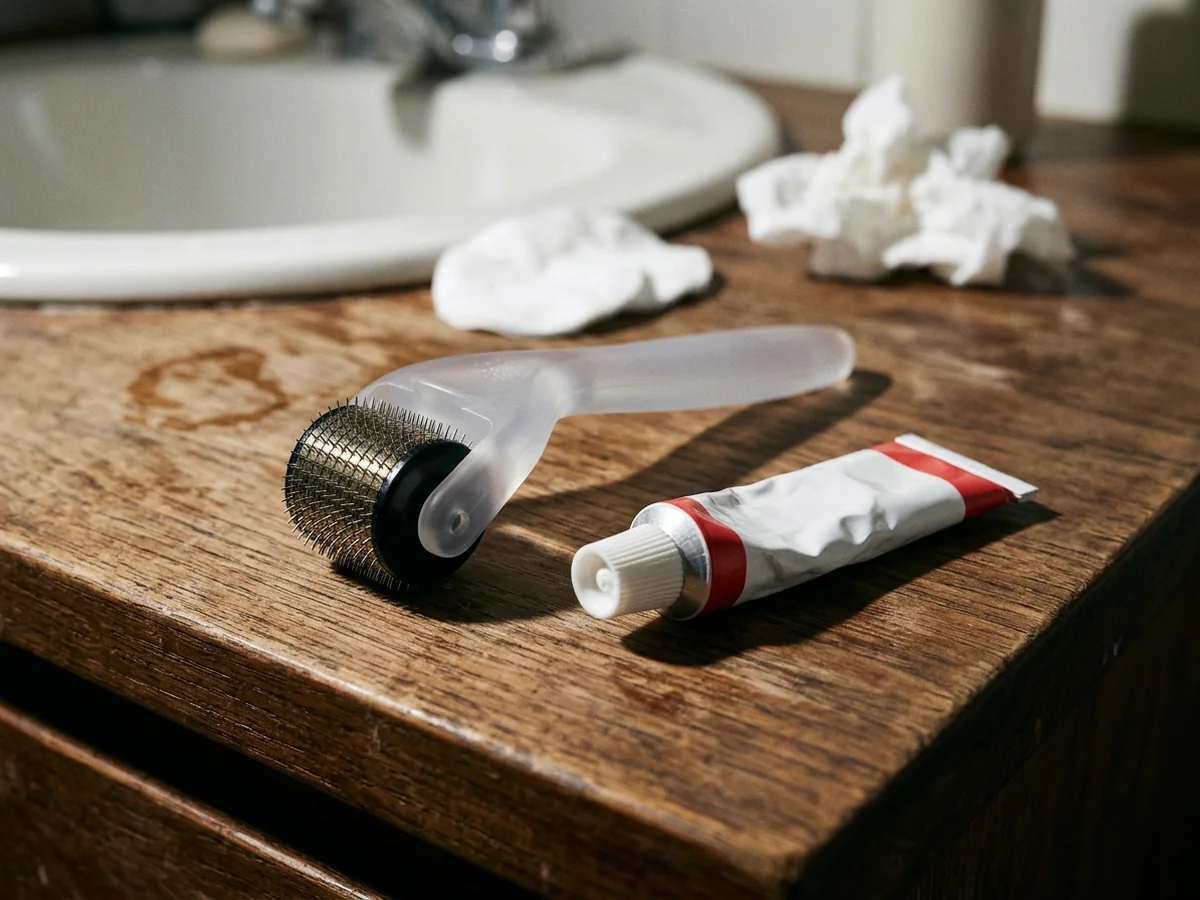
Understanding potential downsides is essential before introducing any home cosmetic procedure to your routine. Because these tools puncture the epidermis to stimulate collagen production, improper hygiene or incorrect technique can lead to skin irritation, localized inflammation, and potential bacterial infection. Knowing the risks helps protect your skin barrier and prevents minor cosmetic attempts from turning into lasting dermatological concerns.
Contraindications and Vulnerable Skin Conditions
Specific contraindications mean certain individuals should avoid the practice entirely. People dealing with active acne breakouts, eczema, rosacea, or psoriasis run the high risk of spreading bacteria or worsening chronic inflammation across the treatment area. Skin conditions characterized by open wounds, fragile barriers, or active flare ups are especially vulnerable to severe adverse reactions. Furthermore, individuals with compromised immune systems or a personal tendency toward keloid scarring must steer clear of these tools. Whether you are exploring options for facial texture or considering microneedling for hair loss, consulting a dermatologist helps determine whether underlying skin concerns make the procedure unsafe for your specific profile.
Common Mistakes in Home Technique
To minimize hazards when learning how to use derma roller at home, several practical steps and common mistakes require careful attention. A frequent error involves pressing too aggressively or selecting stainless steel needles that are too long for home use, which can tear the delicate epidermis instead of creating clean micro channels. Proper sanitization using isopropyl alcohol before and after every session is nonnegotiable to keep the device free from harmful microbes. Storing the device incorrectly or failing to replace dull needles on a regular schedule will also introduce bacteria directly into the skin or hair follicles.
Managing Expectations and Professional Guidance
Professional guidance ensures you understand your skin limits, manage expectations regarding any potential derma roller before and after results, and avoid compounding existing issues. Whether the goal is general skin rejuvenation or addressing thinning hair with derma rolling, professional insight prevents improper application. Safe practices protect your skin barrier and ensure that home routines support long term health rather than introducing avoidable risks.
Frequently Asked Questions About Derma Rolling
Do these cosmetic micro-needling tools really work?
These cosmetic tools can genuinely improve skin texture and stimulate collagen production when used correctly over time. Success depends heavily on proper device hygiene, correct needle length, and consistent application during at home routines. The practice relies on creating controlled micro-injuries in the epidermis, which encourages the body’s natural healing response.
A common mistake is applying too much downward pressure or expecting overnight changes. Users should approach skin needling with patience, ensuring they follow a structured routine rather than rushing the process.
What are the potential drawbacks and risks involved?
Improper hygiene or excessive pressure can lead to skin irritation, scarring, and bacterial infections. Using dull needles on the epidermis causes unnecessary micro-tears instead of clean punctures, which damages the skin barrier and increases healing time.
Another frequent error is failing to replace worn out devices made of stainless steel. Continuing to use bent or blunt needles compromises safety and defeats the purpose of the treatment, making regular replacement essential.
Does a micro-needling device really regrow hair?
Microneedling can stimulate hair follicles and support hair regrowth when addressing certain types of thinning, particularly when combined with proper topical treatments. Safety is critical, so users must consult a dermatologist before starting treatments for hair loss to ensure the approach suits their specific situation.
People exploring cosmetic scalp needling for hair thinning often make the mistake of using the wrong needle length or pressing too firmly on the scalp, which can cause trauma instead of follicle stimulation.
How many minutes should a treatment session last?
A typical session should only last a few minutes depending on the treatment area size. Rushing the process or over-rolling can damage the skin barrier, so gentle and brief passes are always best.
To perform personal cosmetic micro-needling safely in your living space, keep sessions short and light. Moving the device in a grid pattern without pressing into the flesh prevents accidental gouging and ensures even coverage across the skin.
How often should needles be sanitized?
Tools must be thoroughly cleaned with high concentrations of isopropyl alcohol before and after every single use. Proper sanitization prevents harmful bacteria from entering the skin during the procedure and avoids chronic breakouts or infections.
Neglecting proper storage after cleaning is a common pitfall that exposes the device to household dust and microbes. Always let the tool dry completely before storing it in a clean, protective case.
Conclusion and Safe Practices Summary
Safe cosmetic routines require strict hygiene habits, realistic expectations, and professional guidance before starting. Consult a dermatologist to evaluate your skin or scalp condition before attempting home microneedling treatments. Maintaining proper sanitization protocols and knowing your limits will protect your skin from avoidable damage.
You might also like: 10 High Protein Thanksgiving Casseroles Under 550 Calories